When I first heard about Midjourney, I was intrigued by the idea of creating incredible visuals with just a few words. As someone who runs a blog and contributes to a few other sites, finding unique and eye-catching images has always been a challenge. I wanted something more creative than standard stock photos, but I didn’t have the time or skills to create custom images from scratch. That’s when I decided to dive into Midjourney, and let me tell you, once I figured out how to prompt correctly, the results were absolutely game-changing.
What Midjourney Does (and How It Works for Me)
Midjourney is an AI-powered image generator that takes your text and turns it into visuals. The best part? It’s perfect for someone like me who wants original and creative images, but doesn’t have the professional art skills to create them by hand.
When I first started, I would type out random prompts and hope for the best. Sometimes the results were great, but other times they weren’t quite what I had in mind. However, once I got the hang of creating the right kind of prompts, using Midjourney became a breeze, and I found that the tool could actually understand and deliver stunning artwork that fit exactly what I needed for my blog posts.
How I Learned to Write the Best Prompts
The key to getting the most out of Midjourney, as I quickly discovered, is how descriptive and specific your prompts are. At first, I’d type in something simple like “a sunset over a mountain. ” Sure, it produced an image, but it wasn’t anything particularly unique. Then I learned to add more detail: “A serene mountain landscape at sunset with a soft pink sky, trees reflected in a crystal clear lake. ” Suddenly, the images were much closer to what I had imagined in my head.
From there, I started experimenting with styles and moods. If I wanted a more artistic touch, I’d add “watercolor style,” or if I wanted something futuristic, I’d say “cyberpunk city skyline at night. ” The more I played around with it, the more Midjourney understood what I was looking for.
How Midjourney Fits into My Creative Process
Now that I’m familiar with the tool, creating images for my blog has become an essential part of my content creation routine. Here’s how I typically use it:
- Brainstorming with prompts: When I start working on a new blog post, I start by thinking about what kind of visual will complement the content. For example, if I’m writing about productivity, I’ll come up with something like, “A modern workspace, clean and minimal, with natural light streaming in.”
- Refining the image: Once Midjourney has generated the image, I may tweak the prompt to get different versions. Sometimes I’ll ask for slight variations in lighting or tone, or maybe I’ll change the art style to see what works best for the post.
- Iterate and perfect: One of my favorite things about Midjourney is that it’s super easy to keep iterating. If I don’t get the perfect image right away, I can generate multiple variations until I’m happy with it. This has saved me countless hours that I would have otherwise spent scouring stock photo sites.
- Using the image: Once I’ve decided on an image, it’s easy to download it and add it to my blog. Whether I’m creating blog headers, social media posts or thumbnail images, Midjourney gives me plenty of options to make my visuals stand out.
Why Midjourney is a Game-Changer for My Blog
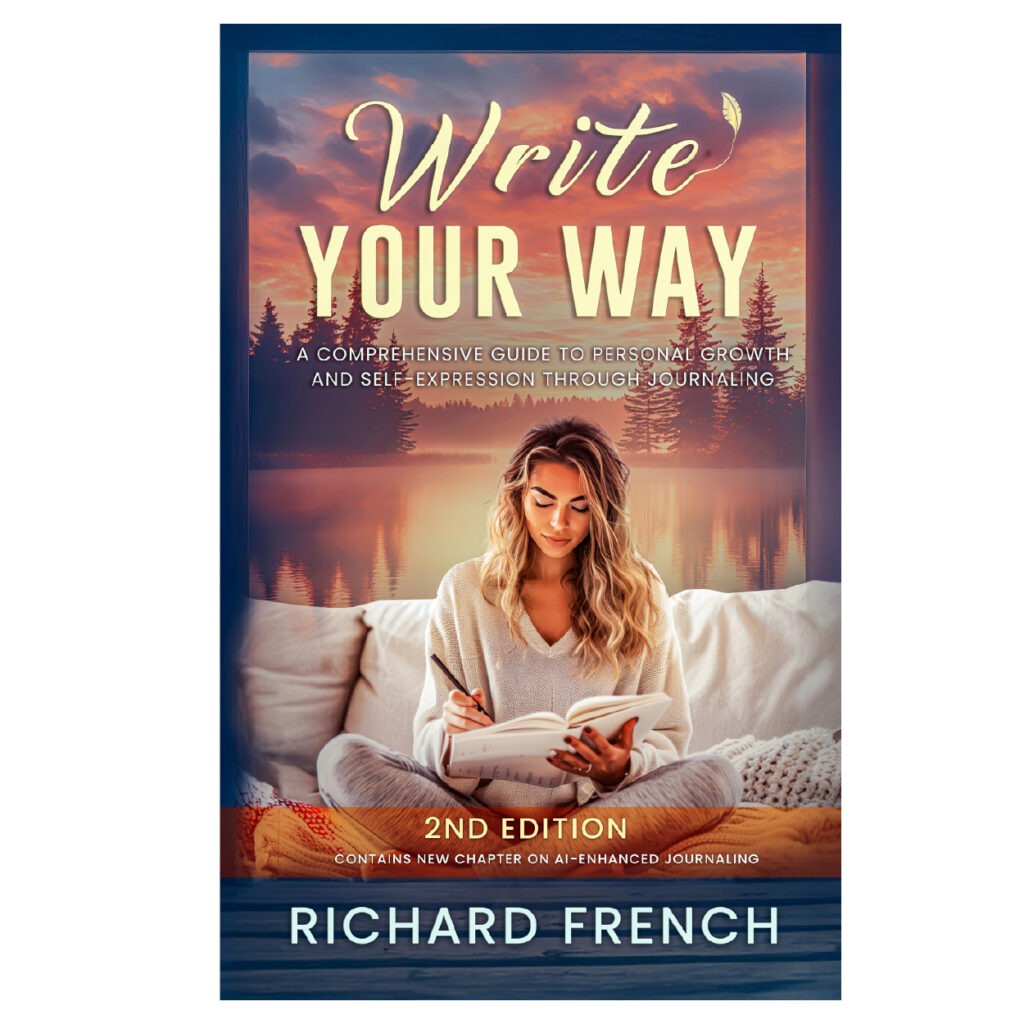
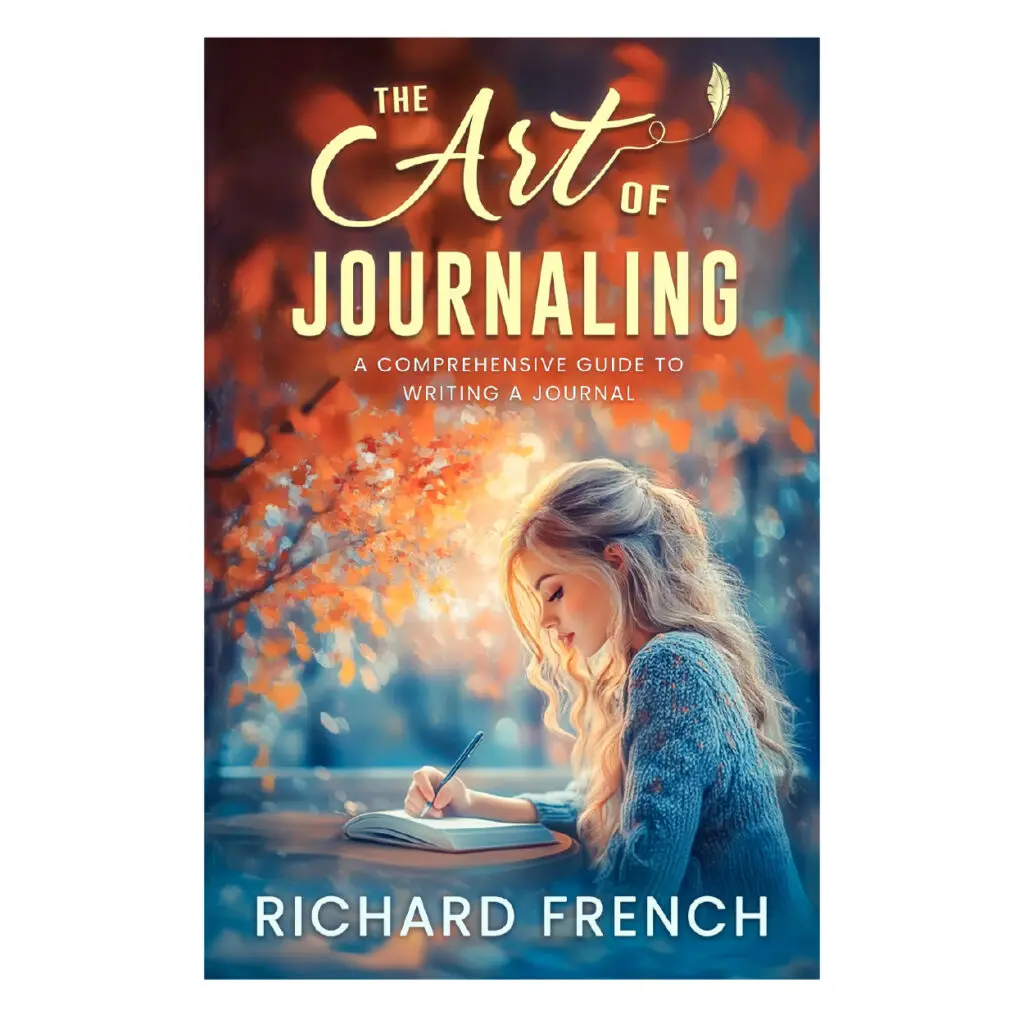
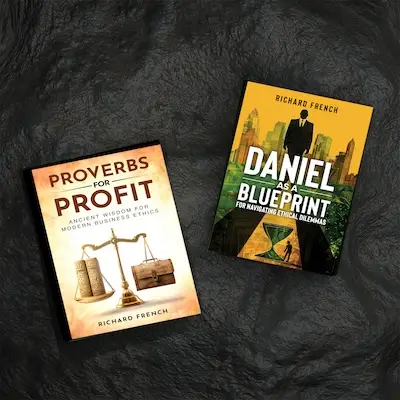
Honestly, Midjourney has changed the way I approach visual content. Not only does it save me time, but it’s also given my blog a more polished and creative look. I used to rely heavily on stock photos, but now I can create something completely unique for each post.
Plus, the process itself is fun. It’s almost like working with the AI to bring my ideas to life. Even if I don’t have a crystal-clear vision at first, I can play around with the prompts until something catches my eye. The tool has helped me discover new creative directions that I wouldn’t have thought of on my own.
My Best Tips for Using Midjourney
If you’re thinking about trying Midjourney for your own projects, here are a few things I’ve learned along the way:
- Be as specific as possible: The more detailed you are, the better the results. Think about the mood, style, colors, and even the angle of the image. Don’t be afraid to experiment with descriptions until you find something you love.
- Use style keywords: Adding terms like “oil painting, ” “photorealistic,” or “minimalist ” helps the AI produce images that fit a certain look or feel. This was especially helpful when I needed the images to match the tone of my blog post.
- Iterate: Don’t settle for the first image you get. Midjourney gives you options for variations, and each tweak brings you closer to your ideal image. It’s all part of the creative process.
- Play around with themes: Sometimes the most striking visuals come from unexpected prompts. I’ve had fun mixing different ideas like “a futuristic city under a pink sky ” or “an enchanted forest with glowing plants. ” The results can be surprisingly beautiful.
Final Thoughts
At first, I wasn’t sure I could get the hang of using an AI tool like Midjourney. But after a little practice and figuring out how to structure my prompts, it’s now one of my go-to tools for creating content. If you’re looking to add some unique and beautiful visuals to your own blog or projects, I can’t recommend it enough.
The process is easy once you get the hang of it, and the creative potential is limitless. Dive in, start experimenting with the prompts, and see what amazing images you can come up with!
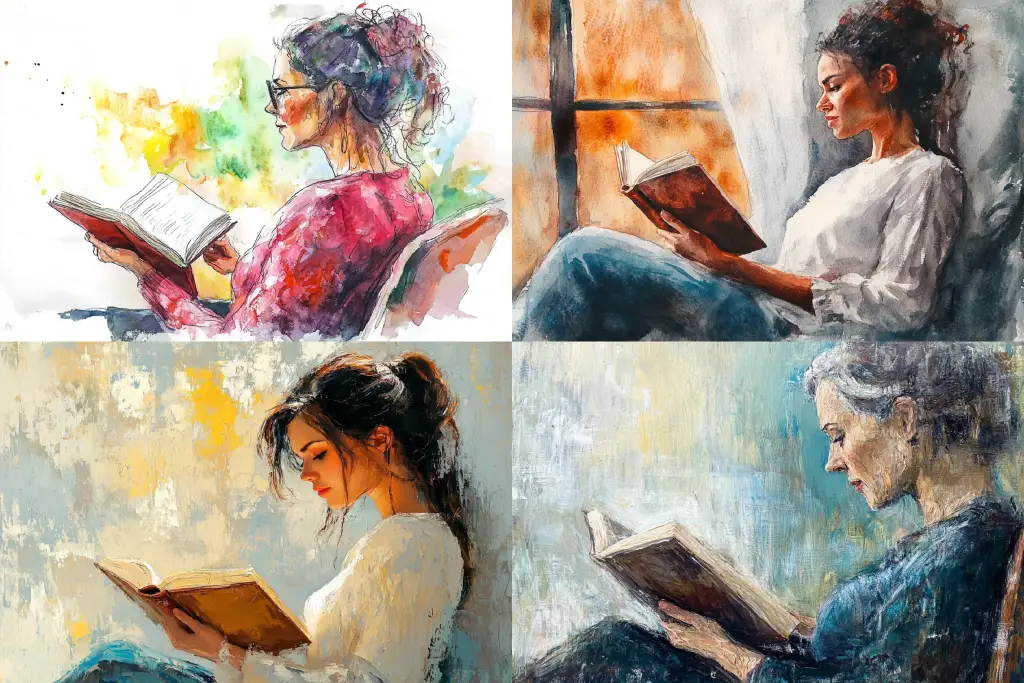
The image above was created with the same prompt with variations of oil painting or watercolor and fantasy illustration or children’s illustration.
